When it comes to fabric bonding, especially for synthetic materials like polyester or polypropylene, ultrasonic sewing machines offer a clean, efficient, and thread-free solution. Unlike traditional sewing, ultrasonic bonding doesn’t require needles or thread. Instead, it uses high-frequency vibrations to generate localized heat, melting and fusing the fabrics at the molecular level. But how exactly do you overlap two fabrics together using an ultrasonic sewing machine? This guide walks you through the step-by-step process while offering helpful insights into settings, materials, and best practices.
Understanding Ultrasonic Sewing: A Quick Overview
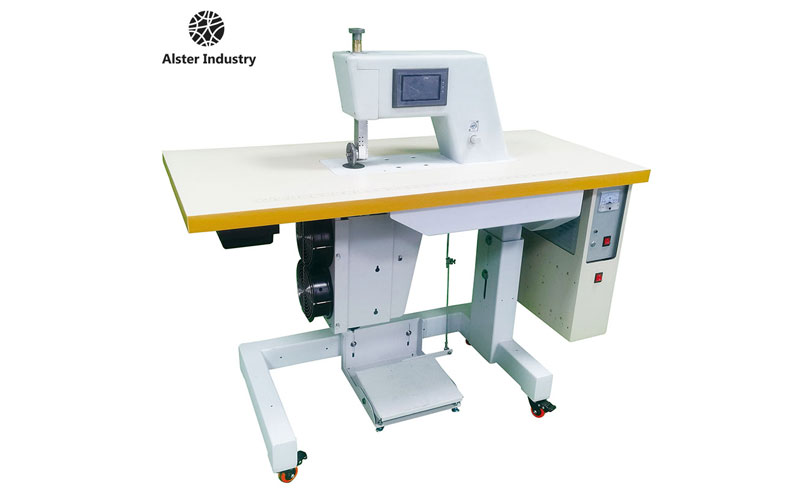
Before diving into the overlapping process, it’s essential to understand how ultrasonic sewing works. Ultrasonic sewing machines from Alster operate by converting electrical energy into high-frequency mechanical vibrations. These vibrations, typically at frequencies around 20 kHz or higher, are transferred to the fabric via a horn and anvil (sometimes called a sonotrode and roller). When two layers of thermoplastic fabric pass between the vibrating horn and the anvil, the heat generated from friction causes the fibers to melt and bond together.
The result? A sealed seam that’s strong, clean, and free from needle holes, threads, or adhesives.
What Types of Fabric Can Be Overlapped Using Ultrasonic Sewing?
Ultrasonic sewing works best with synthetic, thermoplastic materials. These include:
Polyester
Polypropylene (PP)
Nylon
Acetate
Acrylic blends
Some PU-coated fabrics
Natural fibers like cotton or wool cannot be bonded using ultrasonic energy unless blended with synthetics. Therefore, always check the material composition before starting.
Preparation: Tools and Materials You’ll Need
To successfully overlap and bond two fabrics using an ultrasonic sewing machine, you need the following:
Ultrasonic sewing machine (either handheld or with a flatbed and roller)
Compatible fabrics (thermoplastic fibers)
Fabric alignment tools (clips, guides, or laser markers)
Protective gear (gloves and safety glasses if needed)
Test scraps (for calibration)
Step-by-Step Guide to Overlapping Two Fabrics with an Ultrasonic Sewing Machine
1. Material Inspection and Preparation
Start by inspecting both fabrics. Ensure they’re clean, dry, and free from contaminants like dust, oil, or lint. Trimming the fabric edges can also help create a smooth bonding area.
Lay both pieces flat and position them in the desired overlapping configuration. Typically, overlaps range from 5 mm to 15 mm, depending on the application.
Pro tip: If you’re working with slippery materials like nylon, use fabric clips or a guiding mechanism to maintain alignment.
2. Setting Up the Ultrasonic Sewing Machine
Every ultrasonic machine has its own configuration, but general settings include:
Frequency: Typically fixed (e.g., 20 kHz or 35 kHz)
Amplitude: Controls vibration intensity
Pressure: Adjusts the force applied by the horn
Speed: Controls how fast the fabric moves through
Start by setting the machine to medium pressure and amplitude. For most synthetic fabrics, these default settings will be sufficient. Run a few test samples to fine-tune the settings based on the bonding result.
Tip: If the bonded area looks scorched or brittle, reduce the amplitude or pressure. If the bond is weak, increase pressure slightly or slow down the feed rate.
3. Feeding and Positioning the Fabrics
With the machine set, align the overlapped section of the fabrics under the horn and anvil roller. Make sure the top and bottom layers are flat and evenly positioned.
Begin slowly. Activate the ultrasonic horn and gently guide the fabrics through the machine, keeping the overlap steady and consistent. Most modern ultrasonic sewing machines will pull the fabric automatically if feed rollers are present.
Keep an eye on the bonding seam—there should be a visible change in texture and a slight impression from the horn, but no burning or discoloration.
4. Testing Bond Strength and Quality
Once the seam is complete, check it by gently tugging on the overlapped section. A properly bonded seam will resist separation without tearing or fraying.
You can also do a peel test or folding test, especially if the final product will undergo mechanical stress. If necessary, run more samples to tweak your settings further.
Some operators also opt to inspect the bond under magnification to ensure there are no weak points, bubbles, or inconsistencies.
5. Finishing Touches
Trim any excess material along the edges if the design requires a neat appearance. Some ultrasonic machines come with cutting wheels that simultaneously trim and seal edges, especially in applications like disposable medical gowns or filters.
Label or mark the fabric for further processing or packaging, depending on your production line.
Common Issues and How to Solve Them
Weak Bond
Cause: Low pressure, low amplitude, or incompatible fabric
Solution: Increase pressure or amplitude; ensure fabrics are thermoplastic
Scorching or Discoloration
Cause: Excessive heat from high amplitude or slow speed
Solution: Reduce amplitude or increase feed speed
Misaligned Layers
Cause: Manual handling errors or slippery fabric
Solution: Use guides or automatic feeding mechanisms
Inconsistent Seams
Cause: Uneven fabric thickness or poor roller contact
Solution: Adjust roller pressure and inspect rollers for wear
Applications of Overlapping Fabrics via Ultrasonic Bonding
Ultrasonic overlapping is used in many industries due to its precision and cleanliness:
Medical: Disposable gowns, masks, surgical drapes
Textiles: Nonwoven fabrics, geotextiles, activewear
Packaging: Fabric-based pouches, bags, and wrapping
Automotive: Interior panels, trunk liners
Home goods: Curtains, mattress covers, and upholstery
The method ensures a seamless finish, improves production speed, and reduces material waste compared to traditional stitching.
Final Thoughts
Overlapping two fabrics with an ultrasonic sewing machine may seem intimidating at first, but with the right materials and careful setup, it becomes a streamlined process. From selecting thermoplastic fabrics to fine-tuning machine settings and ensuring alignment, every step contributes to achieving a clean and durable bond.
Whether you’re producing medical-grade textiles or designing innovative consumer goods, ultrasonic bonding offers a fast, sustainable, and high-quality solution for fabric joining. If you’re just getting started, begin with small trials, learn how different fabrics respond, and gradually build confidence in the technique.


